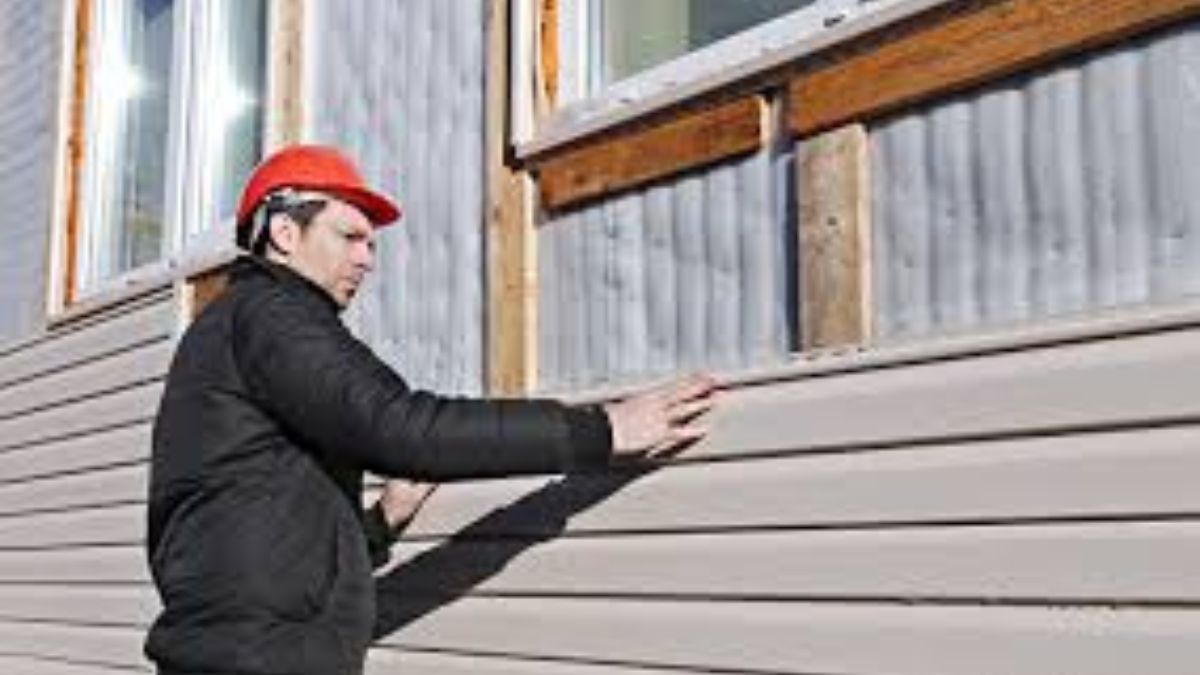
Preparing your home for siding installation is more than just a preliminary step; it’s the foundation for ensuring a seamless, problem-free upgrade to your property’s exterior. Working with professional siding services can transform your home’s aesthetic appearance and functional durability. Knowing how to ready your home beforehand can prevent setbacks and secure the successful application of new siding.
Preparing for siding installation requires deliberate planning and attention to detail. Each step, whether deciding on the right materials or clearing work areas, plays a pivotal role in the project’s overall outcome. Proper preparation can help minimize disruptions, streamline the installation, and result in a finish that enhances your home’s curb appeal and boosts its protective capabilities against the elements.
Table of Contents
Understanding Siding Installation
Siding installation involves attaching a protective and decorative layer to your home’s exterior walls. It is an integral improvement that combines aesthetic choices with functional enhancements to safeguard your home against environmental elements like rain, wind, and UV rays. The installation involves multiple layers, starting with a moisture barrier that prevents water damage and followed by the actual siding panels.
The choice of siding type affects the look, effectiveness, and lifespan of the protection provided. Familiarity with the installation process helps homeowners set realistic expectations about the time frame and potential disruption. Professionals ensure that the installation process is tailored to your home’s specifications, which leads to better energy efficiency and potentially increases the property’s overall value.
Choosing the Right Siding Materials
The type of material you select for your siding project can have lasting impacts on your home’s energy efficiency, aesthetic appeal, and maintenance requirements. Popular options include vinyl, wood, and fiber-cement, each with distinct advantages. Vinyl is an enduring favorite due to its durability and low maintenance. Fiber-cement siding offers enhanced insulation properties for those interested in energy conservation, aligning well with the U.S. Department of Energy’s efficiency recommendations significantly and reducing heating and cooling costs.
Consider factors like local climate, style preferences, and budget as you decide. While wood siding offers a classic look, it requires regular maintenance to prevent rot and insect damage. Carefully weigh each option’s longevity and aesthetic to make a choice that supports your home’s needs and personal taste.
Preparing Your Home’s Exterior
Scrutinize the outside of your house before the siding crew arrives. Determine which areas, including cracked walls or trouble places like rot or faulty insulation, require repair. By taking care of these issues in advance, you can guarantee that your new siding will have a stable, level surface to adhere to, thereby averting further issues.
A specialist should repair any structural problems or damage found during your examination. This stage will strengthen your home against future deterioration and improve the overall quality of the siding process.
Clearing the Installation Area
Clearing the area around your home’s exterior perimeter is crucial to preparing for siding installation. This involves moving lawn furniture, garden tools, potted plants, and any outdoor decorations away from your home’s walls. Doing so gives the contractors transparent access to the structure, allowing them to work efficiently without obstructions.
Ensure that pathways are clear and that ladders can be set up safely. Temporarily relocating fragile items and covering nearby plants with protective sheets can also help prevent accidental damage during installation.
Weather Considerations
The weather is a significant consideration when planning your siding project. Extremes in temperature and moisture might cause problems or delays during installation. To prevent interruptions, it is also essential to schedule the installation during acceptable weather conditions.
Knowing the climate patterns in your area can help you schedule the best work. Being proactive about weather-related factors can also help avert challenges and preserve the lifetime of your external renovations.
Coordinating with Your Contractor
Effective coordination with your contractor is essential for a successful siding installation. Early on, establish clear lines of communication regarding project timelines, necessary preparations, and any specific requirements you might have. A good contractor will provide you with a checklist of steps you should complete before their arrival, helping to set realistic expectations.
A detailed discussion about materials, schedule, and any potential disruptions to your daily life ensures everyone is on the same page, facilitating a smoother process and minimizing unforeseen issues.
Post-Installation Checks and Maintenance
After the installation is complete, inspect your new siding thoroughly. Check for any imperfections or gaps that might have occurred during the installation. Addressing these immediately with your contractor can prevent future issues.
Establish a regular maintenance schedule to prolong the life and appearance of your siding. Routine tasks such as cleaning and inspecting for potential damage can keep your home looking great and maintain the siding’s protective qualities over time. Remember, each type of siding has specific maintenance needs, so consult with your contractor to understand what’s required for your material choice.

