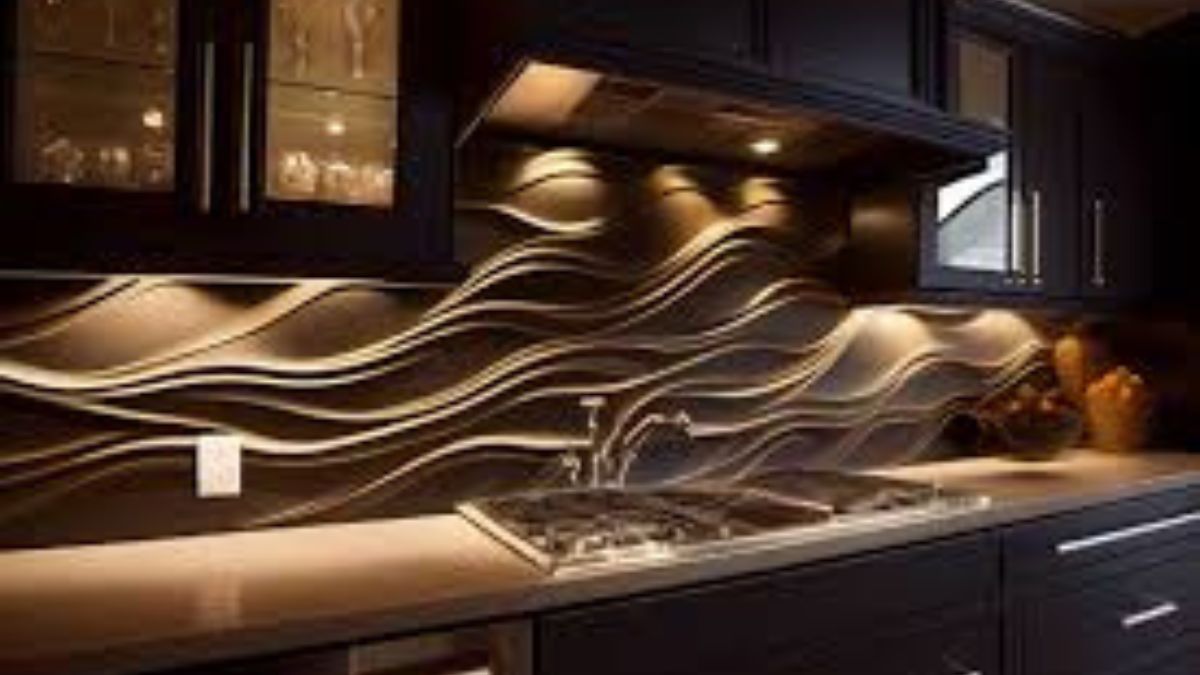
A kitchen backsplash is more than just a protective layer – it’s a canvas for expressing your style. Installing a new backsplash can dramatically change your kitchen’s appearance, making it an ideal weekend project. With the right materials and guidance, this task is both manageable and rewarding.
In the heart of every home lies the kitchen, a space where functionality meets aesthetics. The backsplash plays a pivotal role in this balance, offering protection from spills and splatters while adding a touch of personal flair. Revamping your kitchen with a new backsplash can be as impactful as it is straightforward, enhancing your culinary haven with minimal effort. Whether you’re opting for a subtle refresh or an eye-catching overhaul, understanding your options is the first step to achieving your dream kitchen.
Choosing Backsplash Materials
The choice of material for your kitchen backsplash significantly influences both the aesthetic and practical outcomes of your renovation. Common materials include ceramic, glass, stone and metal, each offering distinct advantages and challenges. Ceramic tiles are favored for their affordability and wide range of colors and patterns, making them suitable for various styles and with tile installation services that are top-tier, you can get that effortlessly chic and stylish look in no time.
Glass tiles, on the other hand, provide a sleek, modern look that enhances light reflection in your kitchen. Their non-porous nature makes them easy to clean but can be more expensive than ceramic options. Stone backsplashes exude natural beauty and durability but often require sealing to prevent staining and moisture damage.
Metal backsplashes add an industrial or contemporary edge to kitchens and are highly durable against heat and water exposure. However, they can show fingerprints and smudges more readily than other materials. Choosing the right material involves balancing aesthetics with practicality, ensuring long-term satisfaction with tile installation services that cater to your specific needs.
Selecting the Right Style for Your Kitchen
The style of your backsplash should harmonize with the existing decor while reflecting your personal taste. Classic subway tiles remain popular due to their timeless appeal and versatility across different design themes. For those seeking something more distinctive, geometric patterns or mosaic designs can introduce an element of creativity and color.
Consider the overall color scheme of your kitchen when selecting backsplash tiles, coordinating or contrasting shades can either unify the space or highlight particular areas like countertops or cabinetry. Textured tiles add depth and interest but may require more maintenance due to grout lines.
When choosing a style, think about both current trends and timeless designs that won’t quickly date your space. This consideration ensures that your investment remains appealing for years to come, providing joy every time you step into the kitchen.
Preparation and Planning
Proper preparation is crucial for a successful backsplash installation. Begin by thoroughly cleaning the wall area where the backsplash will be installed as this helps ensure optimal adhesion of tiles. Accurate measurements are essential, so remember to measure both horizontally and vertically to determine the number of tiles needed and minimize wastage.
Plan the layout before starting to avoid any surprises during installation. This includes accounting for electrical outlets or switches that may interrupt the tile pattern. Laying out tiles on the floor beforehand can help visualize spacing and alignment.
A well-thought-out plan will save time and reduce errors during installation, making it easier to achieve a professional-looking finish even if you’re tackling the project yourself.
Installation Process
The installation process begins with gathering all necessary tools such as tile spacers, adhesive, a notched trowel and a level. Start by applying adhesive evenly across small sections of the wall using the trowel’s flat side before combing through it with notches to create ridges.
Place each tile carefully onto the adhesive bed, using spacers to ensure uniform gaps between tiles for grouting later. Regularly check alignment with a level to maintain straight rows throughout the installation process.
Once all tiles are set in place, allow them to dry according to the adhesive manufacturer’s instructions before applying grout into joints using a rubber float. Wipe away excess grout with a damp sponge after it begins to set but before it hardens completely.
Maintenance and Care
A newly installed backsplash not only elevates aesthetic appeal but also demands proper maintenance for longevity. Different materials have varying care requirements. Ceramic tiles typically need mild detergent cleaning whereas stone may require specific sealants against stains.
Glass backsplashes benefit from regular wiping down with vinegar solutions diluted in water which cuts through grease without damaging surfaces – keeping them sparkling clean effortlessly. Metal finishes should be polished occasionally using appropriate cleaners designed specifically so they don’t tarnish over time due to exposure elements like moisture and heat emanating from nearby appliances frequently used within culinary environments and day-to-day operations.

